"Help! How do I fix the iTunes connection error? I tried everything and I still get 'iTunes could not connect to the iPhone 'iPhone' because it is locked with a passcode.' Message."
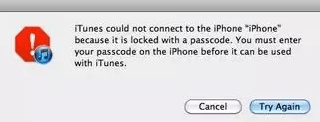
iTunes can't connect to iPhone/iPad/iPod is a common iTunes error. The reasons for the error vary, one of which is the password-locked device. And you will not be able to enjoy the iTunes service.
If this happens, how do you resolve iTunes could not connect to this iPhone because it is locked with a passcode?
Part 1. Remove Old Connections from iTunes
Part 2. Re-Set iTunes in iPhone Recovery Mode
If it complains that "iTunes cannot connect to the iPhone/iPad/iPod Touch because it is locked with a passcode", then you may have overlooked common sense about iTunes: that is, no more than 5 devices can connect to the same iTunes account. This is a limitation used by iTunes, otherwise, the above error message will appear.
Here are steps to remove useless old connections on iTunes fixing iTunes not connecting to iPod/iPad/iPhone!
Step 1. Double-click the iTunes icon on your desktop (PC/Mac) to run it.
Step 2. Select the "Accounts" tab from the menu bar at the top of iTunes and select "View My Account" from the drop-down menu.
Step 3. Now you need to enter your Apple ID password.
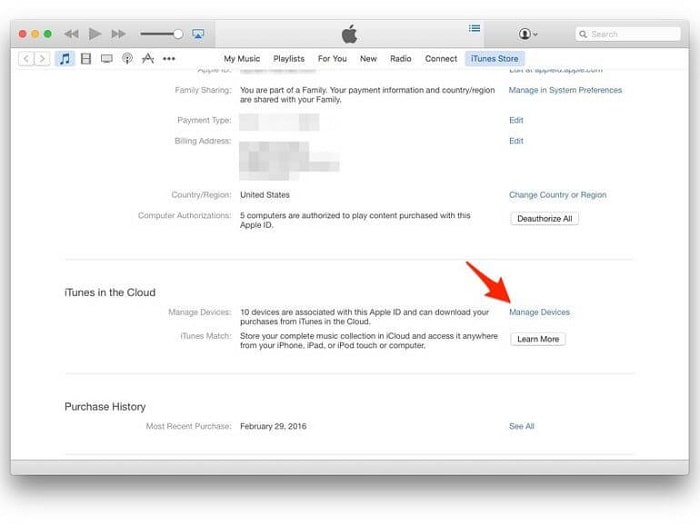
Step 4. In the iTunes in Cloud, click "Manage Devices" to display the devices connected to the account.
Step 5. If there are 5 devices, it proves that this method can help you restore iTunes to normal. Otherwise, please go to Part 2. Select useless old devices and right click to remove them.
Step 6. Restart iTunes and reconnect the required devices.
Of course, this may also be caused by damage or loss of iTunes firmware. With this in mind, you can use this method to fix the "iTunes cannot connect to iPhone locked with passcode" error.
Step 1. First, connect the device to PC/Mac via a USB cable, and then open iTunes. Note: The order of the two cannot be changed.
Step 2. Hard restart iPhone/iPad/iPod. Different devices have different force restart steps.
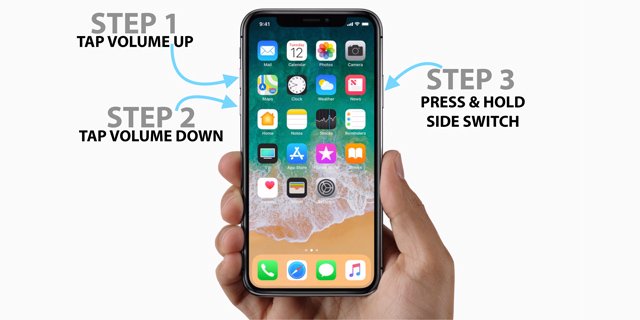
For iPhone X/XR/8/8 Plus & iPad (without Home Button)
1. Press the volume up button
2. Then press the volume down button
3. Finally, press the side button
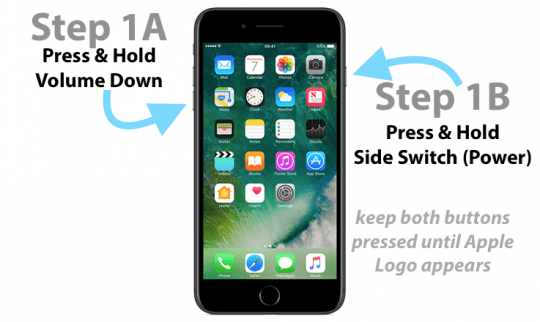
For iPhone 7/7 Plus
Press the volume down button and the side button simultaneously
For iPhone 6s and earlier & iPad (with Home Button) & iPad touch
Press and hold the Home and Top (or Side) buttons simultaneously

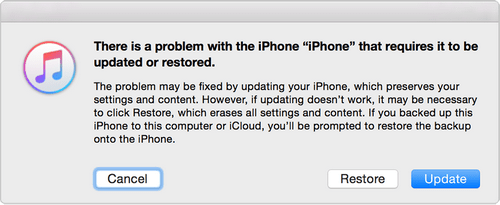
Step 3. The "Connect to iTunes" will be displayed on the screen.
Step 4. Then select the "Update" option from Update and Restore. The iTunes firmware will now be reinstalled. Then you can check if "iTunes could not connect to the iPhone because it is locked with a passcode" disabled
When you don't know why this error message pops up, completely uninstalling and reinstalling becomes the only way.
We know that completely uninstalling iTunes' common solutions is very complicated and requires technical background, so I will introduce the easiest way - FoneCope TunesFix. For other ways, check Uninstall iTunes Mac.
Step 1. Get the TunesFix Pro through the download link. Then double-click it to go to the home page and select "Full Uninstall" mode to get rid of the old version of iTunes.
Step 2. After the uninstallation is done, you need to download the iTunes.exe on the official website.
Step 3. Install and run the new iTunes and try again. If you are lucky, it should be "iTunes can't connect to this iPhone because it is locked with a passcode" bypass successfully.
The last method introduced is your savior in times of crisis, no matter why "iTunes could not connect to this iPad/iPhone because it is locked with a passcode" error message pops up, it can make your iTunes and iOS devices perfectly connected.
However, this method also takes advantage of the features of FoneCope TunesFix - a reliable iTunes repair tool. Simple and straightforward steps, as well as professional and patient team service, will definitely make you fall in love with it.
1.Fix iTunes not connecting to iPod/iPad/iPhone without losing data.
2. One-click repair other iTunes connection problems/errors, such as iTunes could not connect to this iPhone the value is missing or iTunes has an invalid signature, etc.
3. It can automatically fix minor problems with iTunes and its components being lost or damaged.
4. Almost fully automated technology simplifies the repair process. It is for everyone.
5. It is almost compatible with all versions of iTunes and PC.
6. When you have an iTunes error or you don't know what's wrong with iTunes, you can choose the "Fix Other iTunes Problems" mode.
Here is how to fix iTunes cannot connect to iPhone with TunesFix!
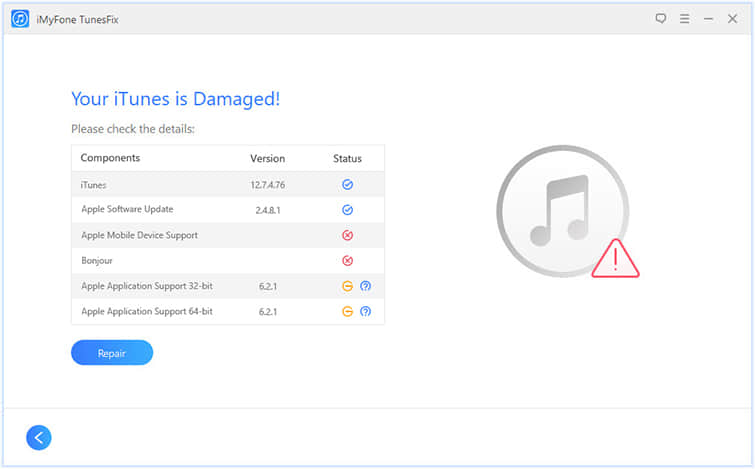
Step 1. Download FoneCope TunesFix to the PC Window 7/8/10 via the official link above. After running, it automatically detects iTunes and component integrity and security issues.
If it claims "Your iTunes is Damaged!", click "Repair" to quickly restore iTunes to normal.
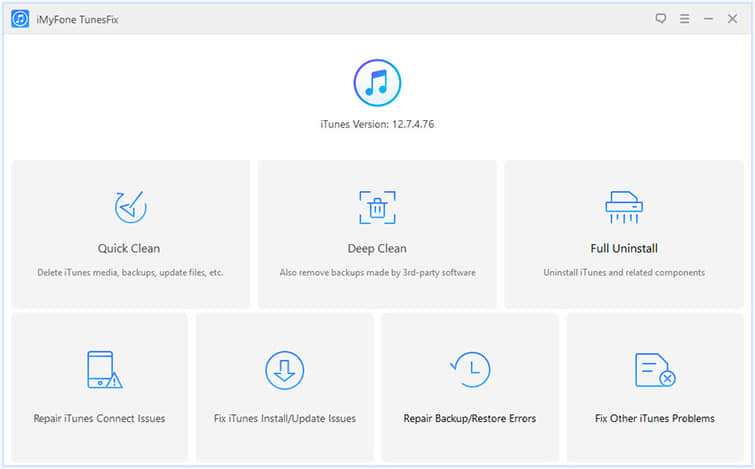
Step 2. After the repair is complete, it will automatically enter the main interface of TunesFix and select the repair mode "Repair iTunes Connect Issues".
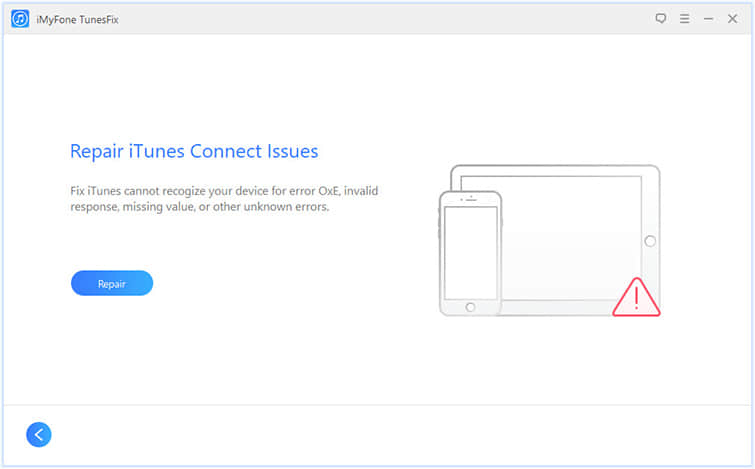
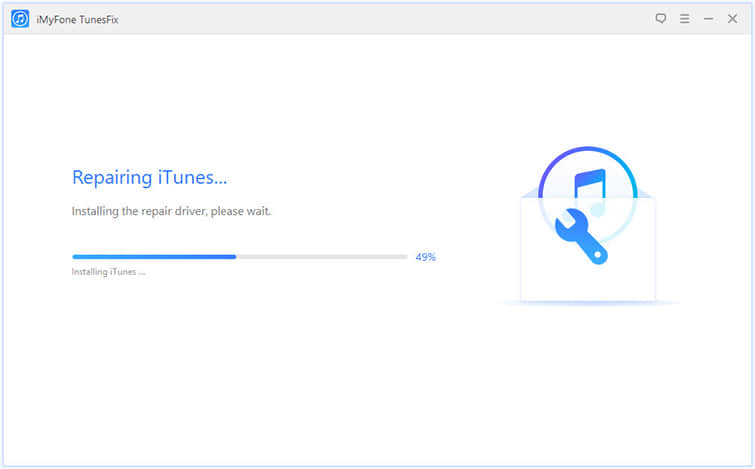
Step 3. Click "Repair" to start repairing.
Step 4. Now that the repair is done, you can reconnect to the iPhone to check if it has been successfully fixed.
When it says "iTunes could not connect to the iPhone because it is locked with a passcode.", FoneCope TunesFix is definitely the best choice for iTunes repair. But if your iTunes error/problem/issue is simple, you still have the opportunity to fix iTunes with the first 3 methods. The most important thing is to re-enjoy the convenience that iTunes brings to your life.
Now, if you don't know anything or have any requirements, you can post a comment and let us know. Our professional team will respond to you in a timely manner.