"I got error 9 when I was updating my iPhone to iOS 13 via iTunes. Then I tried to restore device, but still, it sucked. How to fix it? "
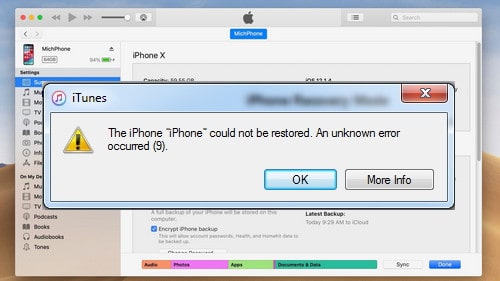
iPhone error 9 usually occurs while you are doing something like these:
Updating iOS firmware
Restoring device via iTunes
Syncing iPhone/iPad to computer
And it just happens and prompts you with no hints but a message 'The iPhone could not be restored. An unknown error occurred (9)'.
Are you confused? I guess so. But don't worry! In this post, I will talk about what triggers iTunes error 9 and how to fix it step by step! You'll find the solutions!
1. Check Your USB Cable and USB Port
2. Force Restart iPhone/iPad to Fix Error 9
3. Update iTunes to the Latest Version
4. Update to the Latest Version of iOS 13/12
5. Make Sure iTunes in the Security Software/Firewall White List
6. Get the Known Error 9 Fixed via Recovery Mode
7. Fix iPhone Error 9 without Losing Any Data
To be frankly, either a software error or hardware issue can result in iPhone won't restore with error 9 on iTunes.
Software issues:
Jailbreak on iPhone is corrupted or not complete
The security software or firewall is blocking access to specific web resources, like Apple servers
The network is wrongly set or is corrupted on computer in some way
Hardware issues:
Can't connect because of a faulty USB port or USB cable (broken or non-original)
The network connection is not in a smooth status
The disconnection between the internal components
Above are the usual factors that may lead to "iPhone could not be updated error 9". Now let's move on to how you can fix it. I can't wait to impress you.
Here I will show you some common workarounds to fix iPhone cannot restore caused by unknown error 9. Check it one by one and you absolutely will find the method that works for your device! Now take a deep breath, relax, and take your time.
I'll say the USB connection is the most usual reason why you're seeing an error 9 pop-up. Now follow the steps to examine.
Firstly, you had better use the original USB cable as the non-original ones may interrupt while updating, restoring, and syncing.
Second, check if the USB cable or port is broken. To test it, you can use another USB cable. Or just plug to a different computer.
Third, restart your iPhone and computer.
(Tip: remove the phone case or exterior 3-party battery packs)
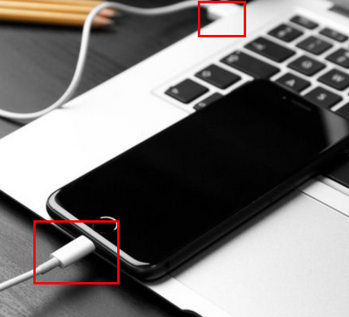
If the Apple iTunes error 9 still troubles you, it means that the physical connection between iPhone and computer has no problem. Probably you should try other solutions.
The steps are slightly different for each device model:
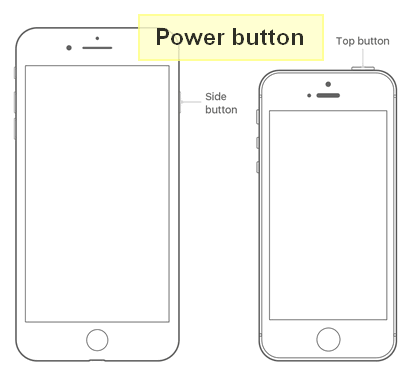
For iPhone X/XS/8 and later, iPad with Face ID: Fast press the Volume Up button and release it, then fast press the Volume Down button and release it, next keep pressing the Power button until the Apple logo appears.
For iPhone 7/7 Plus: Keep pressing the Wake/Sleep button and Volume Down button together (at least lasting 10 seconds) until the Apple logo comes up.
For iPhone 6/5/S earlier, iPad with Home button: Keep holding the Home button as well as the Power button together for 10 seconds until you see the Apple logo shows up on the screen.
In case soft reset (force restart) doesn't work for your device, next you can try to update iTunes to the latest version.
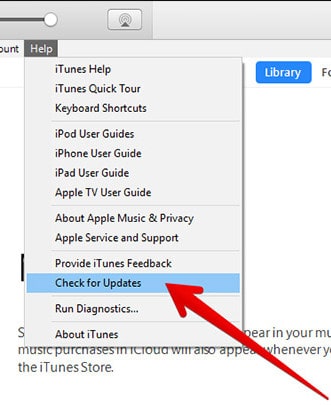
Update iTunes on Mac:
Launch iTunes on your Mac
Click "iTunes" on the menu bar, and then select "Check for Updates".
Follow the on-screen instructive steps and wait for the update process to complete.
Update iTunes on Windows:
Launch iTunes on your Win 10/8/7
Hit the "Help" and then select "Check for Updates"
Follow its steps and wait for the update to complete.
If your iPhone/iPad is still running on old iOS 10 or earlier, updating iOS may give you a hand to fix iTunes error 9.
Download the newest version of iTunes
Force your iPhone/iPad to restart, you can refer to the method 2.
Plug your iOS device into your PC/Mac via a lightning cable.
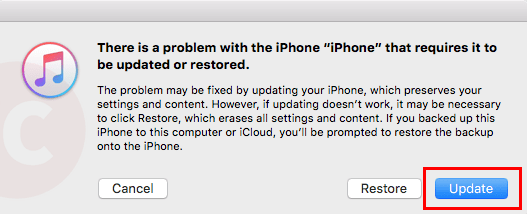
Click "Update" to reinstall iOS when you are prompted with a question "Update or Restore".
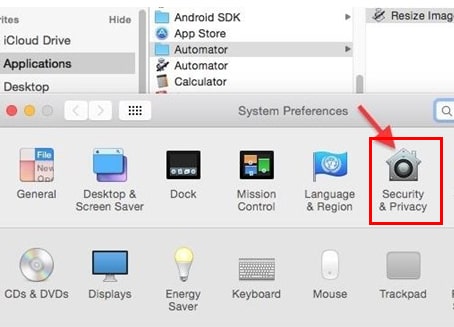
Possibly the security or firewall blocks the communication between Apple's servers and your computer. So, there could be a setting in security software or firewall that needs to be addressed.
On your computer, launch the security software.
Get into the firewall to check if iTunes is in the whitelist (the exceptions list).
Do you have virtualization apps such as VMWare or Parallels on your computer? Close them if you do.
Finally, upgrade the security software to the latest version.
It seems that everything on your computer is fine. This time let's have a look at your iPhone or iPad.
Restoring device via Recovery mode is very helpful in solving various iOS issues. But, listen, this will erase all current data on iPhone alongside.
Next, take the risk and learn how to restore via Recovery mode to fix iPhone upgrade error 9.
Step 1. Update your iTunes to the latest version. (You can find how to do it in Method 3)
Step 2. Soft reset your iOS device. (See the steps in Method 2)
Step 3. Connect your iOS device to PC/Mac via a working USB cable
Step 4. Once you get a hint, click Restore.
Chances are you have tried a couple of times but still cannot boot iPhone into recovery mode. In this case, you can try the ultimate solution.
For tough software bugs, you need strong solution to help you fix iTunes error 9. Here we have FoneCope iOS System Recovery, software can easily and safely fix iOS issues like iTunes error 3600, 9006, and so on.
Long story short. Now, let me show you how to resolve error code 9 with this software.
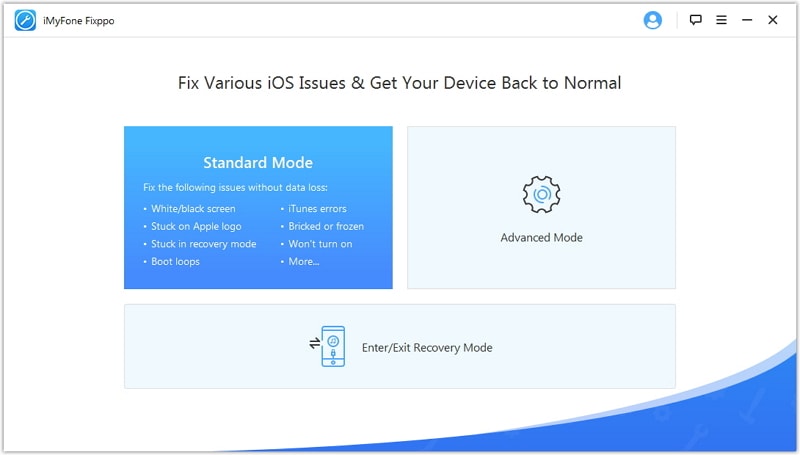
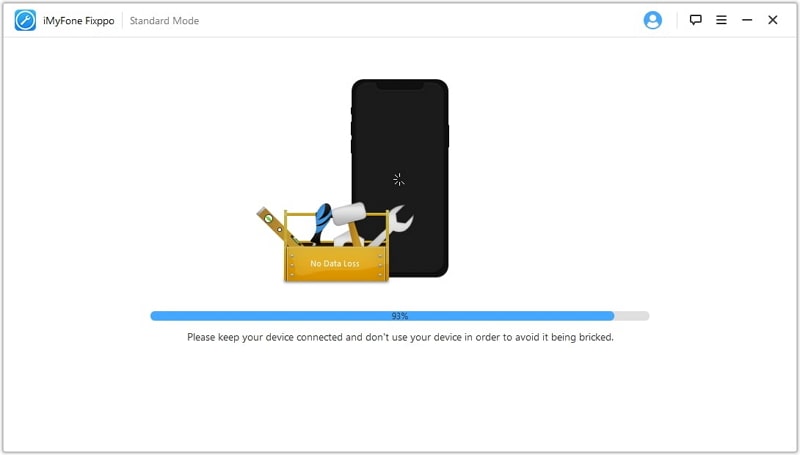
Step 1. Download and install the program on your PC/Mac, then launch it and select the Standard Mode on the main window.
Step 2. Connect your iPhone or iPad device to your computer via USB, and then get your iOS device into dfu mode. Just follow the steps provided by this program.
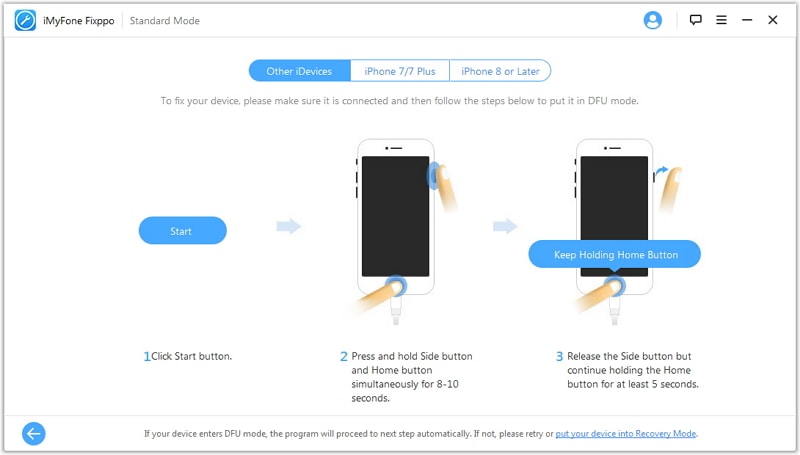
Step 3. After you get into DFU mode successfully, this program will automatically match the suitable firmware for your iOS device. Of course, you can manually select the device model and firmware.
Step 4. Make sure the correct device model and firmware, you can click on the Start button, and this fixing process will only take a few minutes. When the process completes, iTunes error 9 should be fixed.
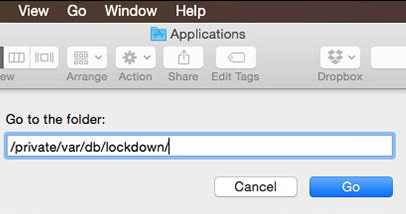
Because the corrupted files in the lockdown folder on computer can lead to corruption during syncing, restoring, and backing up, etc. Resetting the lockdown folder is hopefully can solve iPhone error 9.
Quick iTunes on computer > Disconnect all iOS device from computer > Copy and paste the address to go to the folder
Mac OS X (all versions) - /private/var/db/lockdown/
Windows 7, Windows 8, Windows 10 - C:\ProgramData\Apple\Lockdown
Windows Vista - C:\Users\USERNAME\AppData\roaming\Apple Computer\Lockdown
Windows XP - C:\Documents and Settings\All Users\Application Data\Apple\Lockdown
If all the above solutions do not work, it's very likely that the iPhone error code 9 is caused by a hardware problem. It's best to take it to local Apple Store to get it repaired.
(Tip: if your device is under warranty, contact Apple Support! )
But what if it takes too much for hardware repair? Or even buying a new iPhone is more cost-effective. Before you purchase a new device, it won't hurt if you do something bold and risky to repair error 9.
Therefore, in the next sections, I'll introduce some hardware related methods that might work.
Audio jack: plug the ear bugs into iPhone's audio jack while you do the update or restore to your device.
Warm up components: grip a heat gun and set it to the minimal temperature, for example, 650 degrees Celsius, and then use it to heat the components in the circuit board, such as battery connector, dock connector, and more.
Disconnect the screen: if you recently have replaced your iPhone screen, and then the error code 9 shows up right after that, perhaps you can try this – disconnect the screen > restore or update iPhone > connect the iPhone screen
In this post, I have tried my best to tell what causes iPhone/iPad error 9 and how to fix iTunes unknown error 9. No matter it's due to a software or hardware issue, you definitely can find a satisfying solution that can perfectly work for your device.
Lastly, if you have any questions or better suggestions, welcome to leave your words in the below comment section. We'll appreciate it very much and reply to you as soon as possible.