"How to make iMessage download for PC a good and secure thing? My computer is running on Windows 10. I am willing to pay if necessary. I would rather be safe than browsing spam websites."
iMessage featured with operator-free and no WiFi/cellular, catching the public's fancy. However, the limitation that this APP only available on iOS devices blocks Window users to view iMessages on PC.
Even though a mass of so-called websites or related platforms sprout and stated that they can offer a new version of the iMessage for Windows system, it ends up showing endless spam, junk mails, and advertisements.
So, here we will recommend several tips for you to get a proper way to download iMessage for Windows.
Way 1. Try Chrome Remote Desktop on PC
Way 2. Get iMessage on Windows via iPadian Emulator
Way 3. Use iMessage on PC Using Bluestacks Emulator
Way 4. Get iMessage on PC by Using Cydia
As a browser extension, Chrome Remote Desktop is indeed a priority choice. However, this iMessage download method requires you to have 2 computers. You need to prepare a Macbook and one Windows PC in advance.
Noted: If you do not have a Macbook, other emulators are also available to try this method.
Step1. Download Chrome Remote Desktop on your Google Chrome of Windows versions on both of your devices.
Step2. Add Chrome Remote Desktop by going to Tools of Google Chrome and finding Extensions, and then add it to the Chrome.
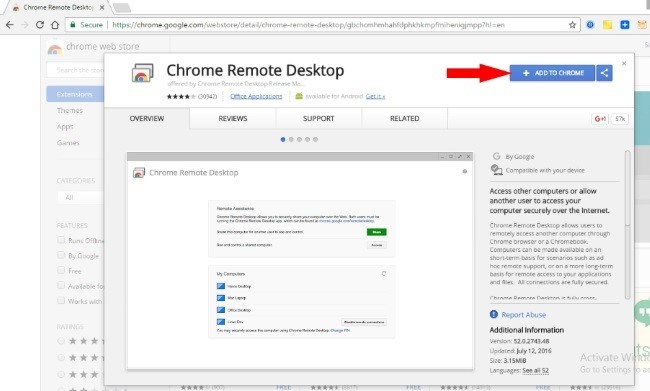
Step3. Launch App under Browser Apps section.
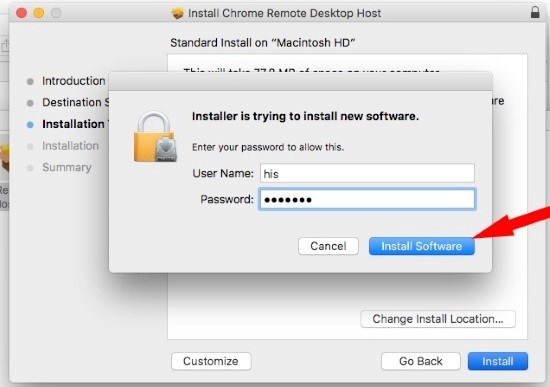
Step4. Download Chrome Remote Desktop on your Macbook, and then install it.
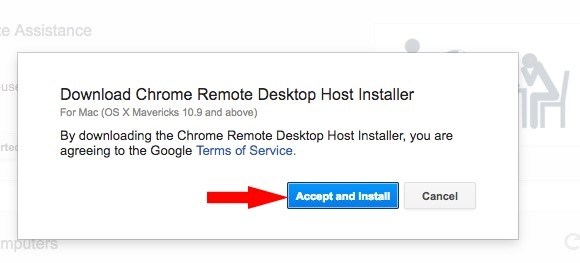
Step5. Then set Security PIN or Passwords on your Mac for the access to the screen of Windows.
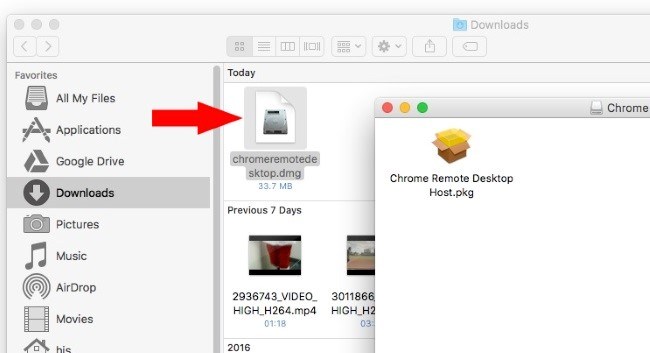
Step6. Go back to find remote Mac on your Windows PC, and click on it to run the shared screen on Windows PC.
iPadian is another emulator for connecting your iPad interface to your Windows PC so that you can browse and operate your iPad iMessage on Windows computer. The following steps show how to use it:
Step1. Enter the website ipadian2.com to download and install the emulator on your PC.
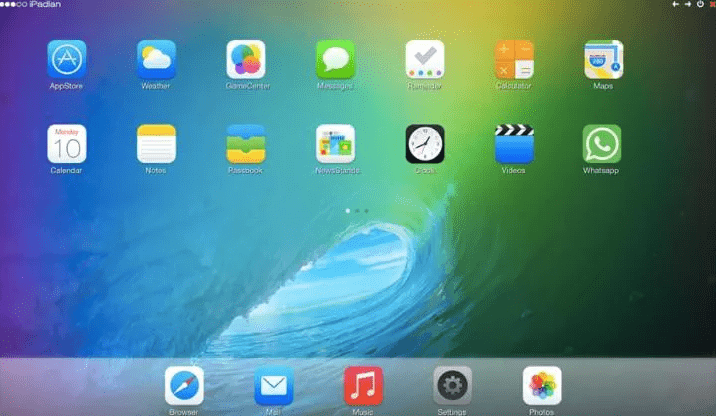
Step2. After the installation, launch it on your computer.
Step3. Search iMessage App on iPadian.
Step4. And then download iMessage on the emulator.
Now that you have downloaded iMessage on your Windows PC using the emulator, you can try and use it. But don't forget to keep your internet connection in good condition.
Although Blustacks is known as an emulator for Android users, it is also a good helper for downloading iMessage history on a Windows PC.
Step1. Search Bluestacks and then download and install it on your device.
Step2. Launch it on your PC.
Step3. You will get a search box then and input iMessage, you will turn to the interface of App Store.
Step4. Download iMessage app and set it up on bluestacks.
By following the above instructions, you can now enjoy using the iMessage on your Windows computer.
Although Cydia is a symbol of jailbreaking iPhone, downloading iMessage on Windows does not require you to jailbreak the iOS device. (Attention: This method may not work if iPhone is running system on iOS 12.)
As a new type of emulator, Cydia can download iMessage for PC without jailbreak through your phone. The following steps will show you how quick and handy the App is:
Step1. Download Cydia on both of your phone and PC.
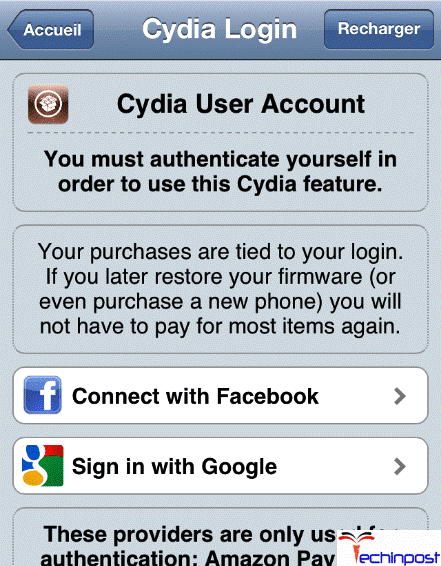
Step2. Launch Cydia and find Remote Messages.
Step3. Install Cydia and after the download completed, turn to Settings to get Remote messages at a cost of $4
Step4. A window will pop up to ask for your authentication. Clicking on "Use authentication" to authorize it.
Step5. Create your username and input passwords. You can use your Apple ID address and then add ":333" in the end. And make sure that your phone and PC are in good connection to WiFi.
Step6. Launch a browser on your PC and input the IP address into the address bar and add colon at the end of the address.
Step7. Tap on "Enter" to get to the interface where detailed information needs you to fill in.
Step8. After filling in the details, you have already done the remote connection between your phone and Windows PC for iMessage download.
The methods introduced above are all extensions or emulators, and in this part, we will show you a third-party tool, FoneCope iPhone Data Recovery (compatible with iOS 12) which provides all-rounded services and functions including importing iMessage history to your Windows computer. It also can be used on Mac. You can also download iCloud backup to PC .
You can download iMessages thread on PC instead of using iMessage on computer. Besides, your also can extract iMessage/messages from backup or device.
·A variety of formats are supported to transfer including messages, contacts, voicemail, photos, etc.
·Preview is available before the files you choose to transfer.
·Viewing and exporting iTunes/iCloud backup is supported.
·20 types of files can be exported such as WhatsApp, Kik, notes, voice memo and so forth.
(Here is an example to download iMessages from iCloud backup. You also can recover from iPhone and iTunes.)
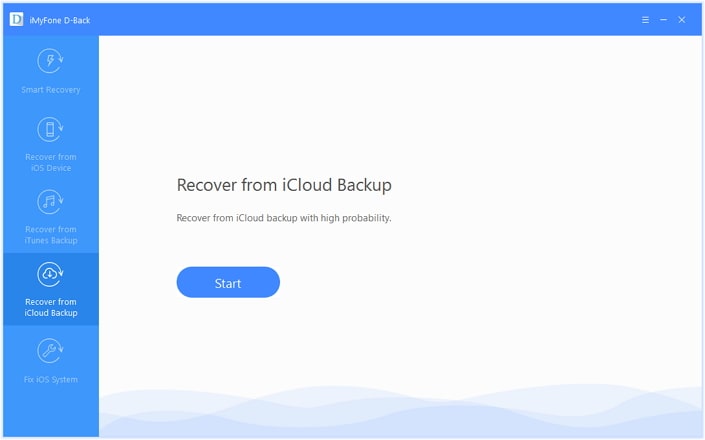
Step1. Download FoneCope and launch it. Then choose "Recover from iCloud Backup" at the forth place of the left column and click on "Start".
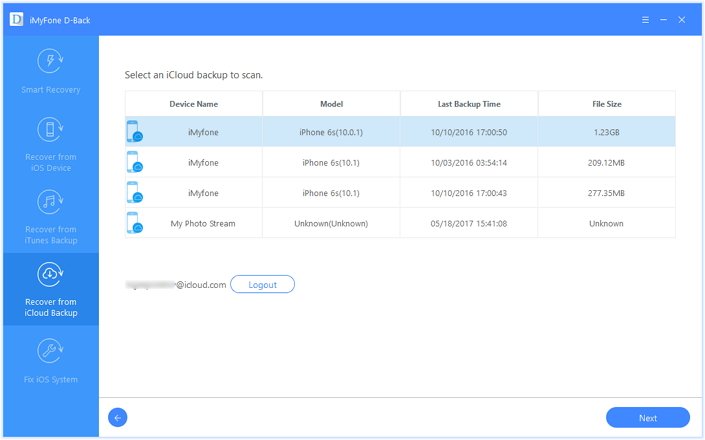
Step2. The software will automatically detect your iCloud account and a detailed list you will get after the detection. Select the iCloud backup from you want and go "Next". (Backup made for iOS 12 is also supported.)
Then choose the data types as you like. Tick the "Message" icon and click on "Scan" button, the software will download your iCloud backup files and scan all of your message history including iMessage backup.
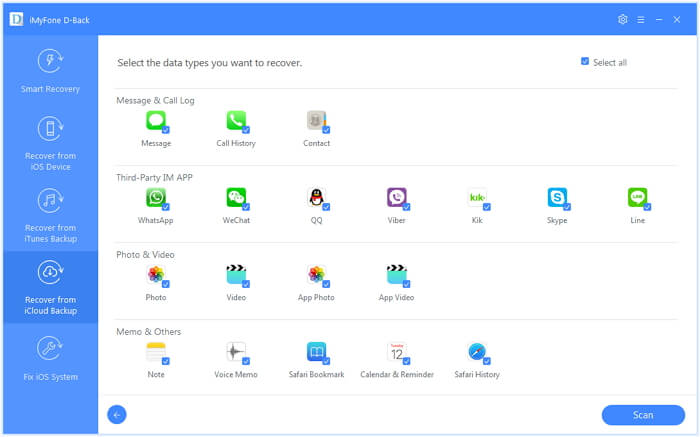
Step3. You will get a pop-up interface where all of your deleted messages stored. Tick the messages you want to recover and you can quickly find the place from the list of different paths on the left.
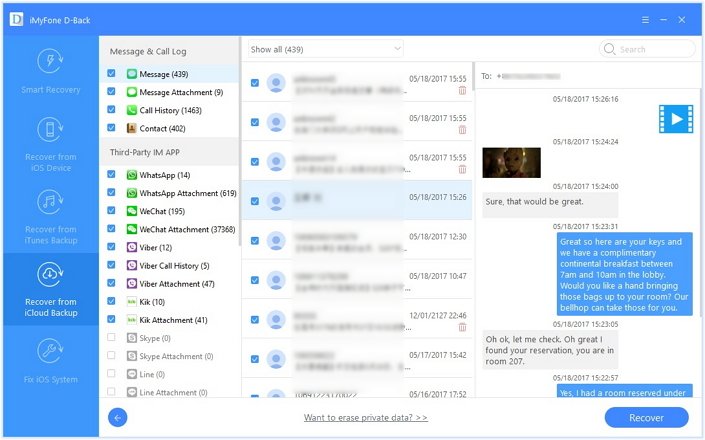
Step4. Finally, click on "Recover" button at the lower right bottom and decide the target path to save your messages and just wait for the recovery completion.
It's much easier to download iMessage on a MacBook because they are using a similar system designed by the same company. But before doing that, please make sure your Mac is already installed 10.8 or higher, if not, then get one please.
1. Download and install "Messages" application. If you do not have one, then go to App Store to download.
2. Launch "Messages" and follow the instructions to fill in your Apple ID information. If you do not have an Apple ID, then go to the official website to create your own account.
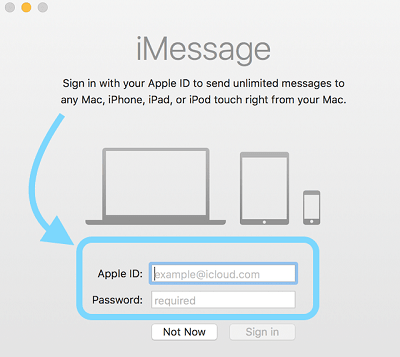
3. Sign in your Apple ID and the application will automatically scan the message history in this account. Choose the desired history and your newly selected message will be synced with all messages from this account on other Apple devices.
(You can also use Continuity to send SMS texts through your Mac.)
All the iMessage download methods we have provided are simple, but we are not App judges but consultants. So, we are not sure which one is the best. Choices and preferences are so subjective. You can choose one or more. It depends on you.
If you have any better ideas, please contact us or leave us a message. We will check it out and give a reply as soon as possible. Thank you!